Assets
Learn about the Assets view, a central repository for managing all resources used in OasisW projects.
Here you can create, upload, delete, inspect, and edit assets.
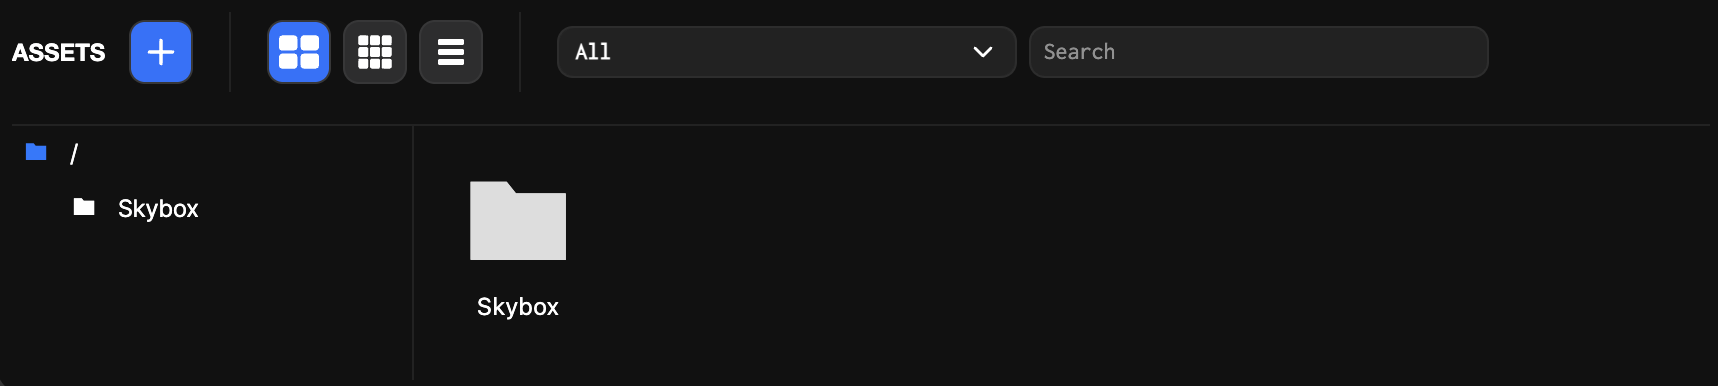
Folder Hierarchy
- Organize assets in a folder tree structure in the folder view.
- Create New Folder
- Click the Add Asset(+) button → Select Folder.
- Or right-click on the desired folder → Select New Asset → Folder.
- Rename Folder
- Click the folder in the folder view, then modify the name in the Inspector.
- Delete Folder
- Click the folder in the folder view → Click Delete.
- Or right-click the folder → Click Delete.
- You can reorganize the structure by dragging and dropping between folders.
Asset Creation and Upload
- Drag and drop files from your computer into the Assets view to automatically upload and import them.
- Certain assets can be created directly using the Add Asset(+) icon.
- To delete an asset, right-click → Click Delete.
Asset Editing
- Text-based assets (text, json, shader, html, css, script) can be opened and edited by double-clicking.
- You can generate code using AI and apply it.
- AI Detailed Guide: See Code Generation.
Asset Information Display
- When you select an asset thumbnail, detailed information is displayed in the Inspector.
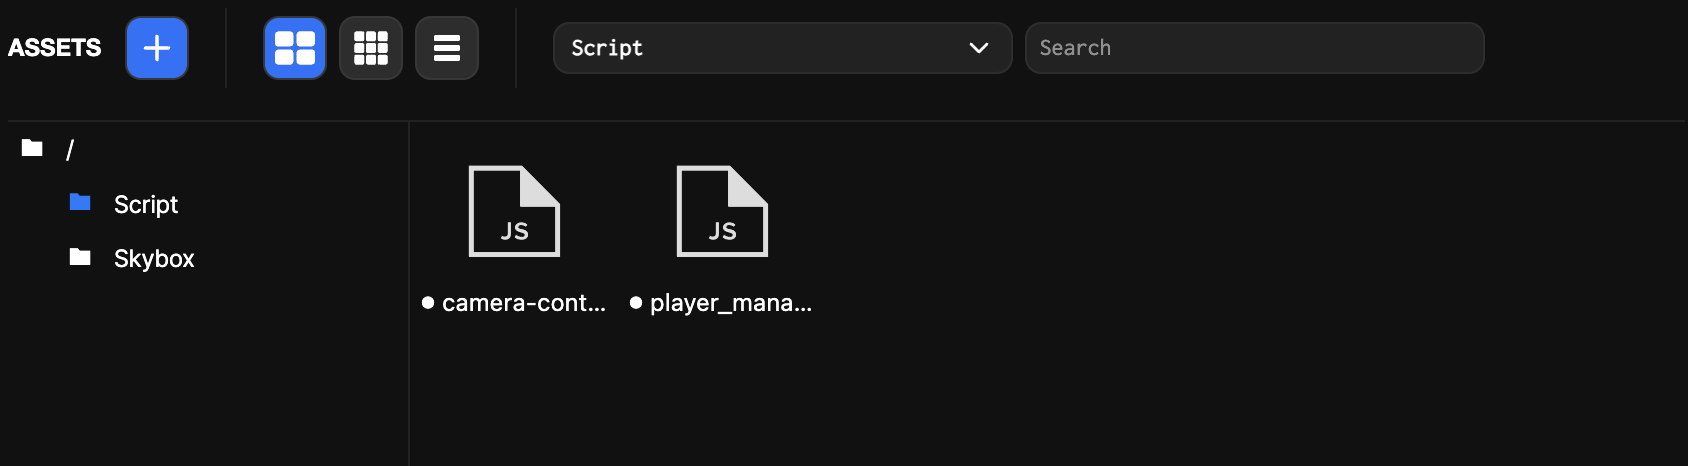
Filtering
- Use the filter dropdown menu to select the asset types you want to view.
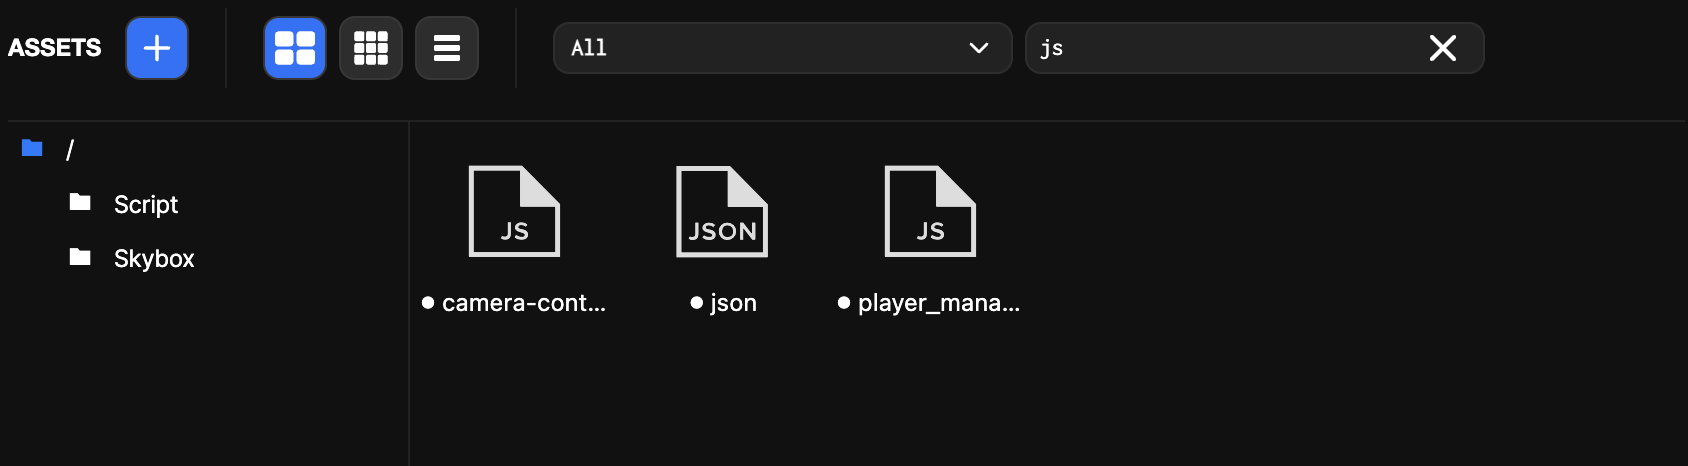
Search
- Enter text in the search box to filter assets in the project in real-time.
- Search Types
- ID: Enter a unique ID to display only exactly matching assets.
- RegExp: Add
*before the search term to use regular expressions.
Example:*.*searches for all assets.
Drag and Drop
- Drag and drop assets within the folder hierarchy to move them.
- Multi-selection is supported (Ctrl+A to select all assets in the current folder).
- You can drag and drop into asset slots in the Inspector (component properties or script attributes).
- Model, material, and cubemap assets can be dragged and dropped directly into the viewport.
Copy & Paste Between Projects
- Select an asset or multiple assets, then right-click → Click Copy.
- Right-click in the Assets view of the target project → Click Paste.
- When copying, asset dependencies (e.g., materials and textures referenced by models) are also copied.
- If an asset with the same name already exists, a new asset is created instead of overwriting.