Material
All surfaces of 3D models are rendered using materials. Materials define the properties of that surface such as color, shininess, roughness, etc.
In OasisW, materials are an asset type that collects all these properties together. By default, it represents a Physical material. This exposes basic properties that can be used to create a variety of visual effects from smooth plastic to rough wood, or scratched metal.
The legacy Phong material type is also supported.
Importing Materials
Materials are automatically imported when you upload a 3D model (e.g., FBX) file to OasisW. Materials are created with the same properties that existed in the 3D modeling tool. When uploading with embedded media (FBX only), all related texture maps are automatically set up.
Creating New Materials
You can create new materials directly from the OasisW editor interface.
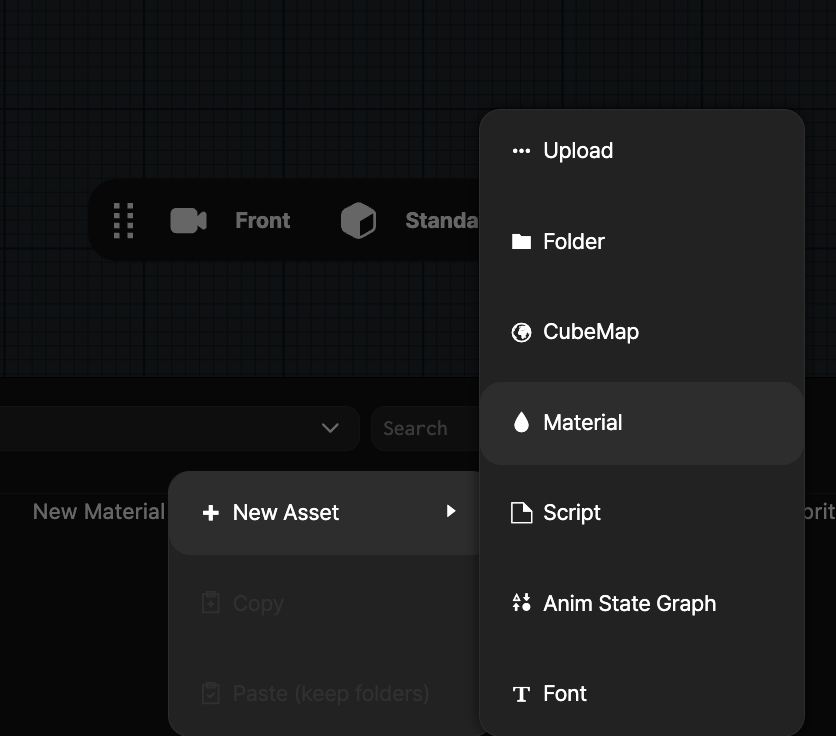
This will create a new material asset and open the material inspector on the right side of the screen.
Selecting a Material

To edit a material, you first need to select it. This will bring up the material inspector.
You can select materials from the Assets Panel. You can also select materials from the model inspector or model component.
Generally, clicking on a material preview icon will take you to the material inspector.
Assigning Materials
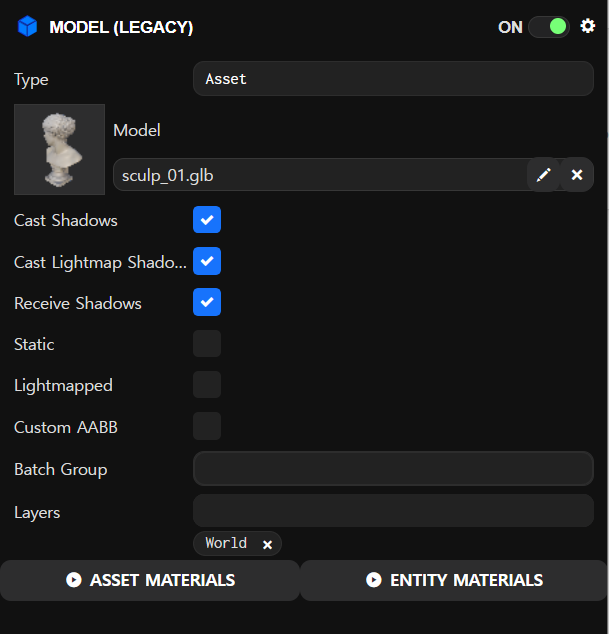
You can modify which materials are assigned where in the model asset, or customize the materials of a specific entity that has a model component.
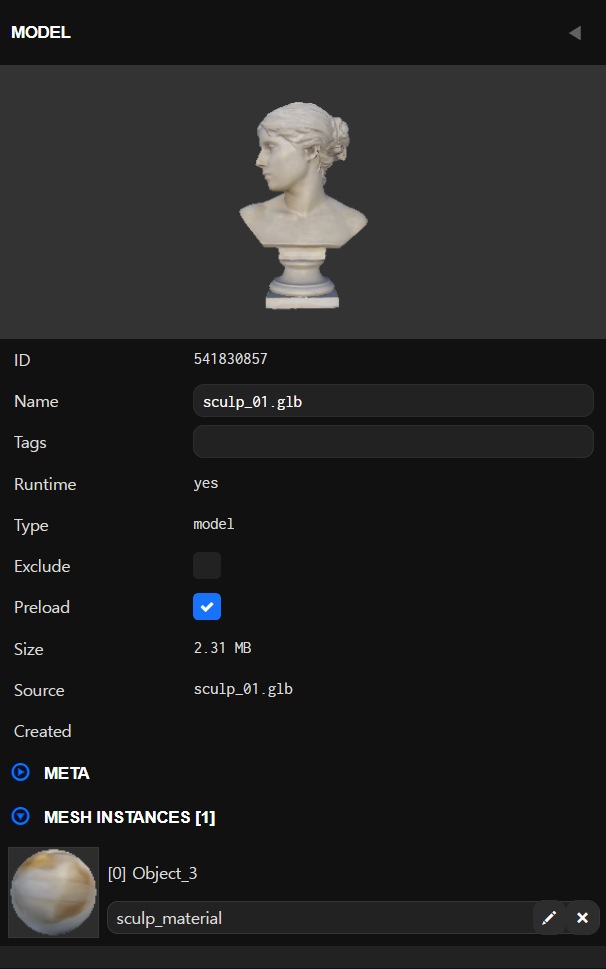
Clicking Asset Materials selects the model asset. You can also select the model asset from the Assets Panel. The model inspector shows the model's meshes and the materials assigned to each. You can use the X button to remove materials and click on empty slots to assign new materials.
You can also drag and drop material assets from the Assets Panel to material slots.
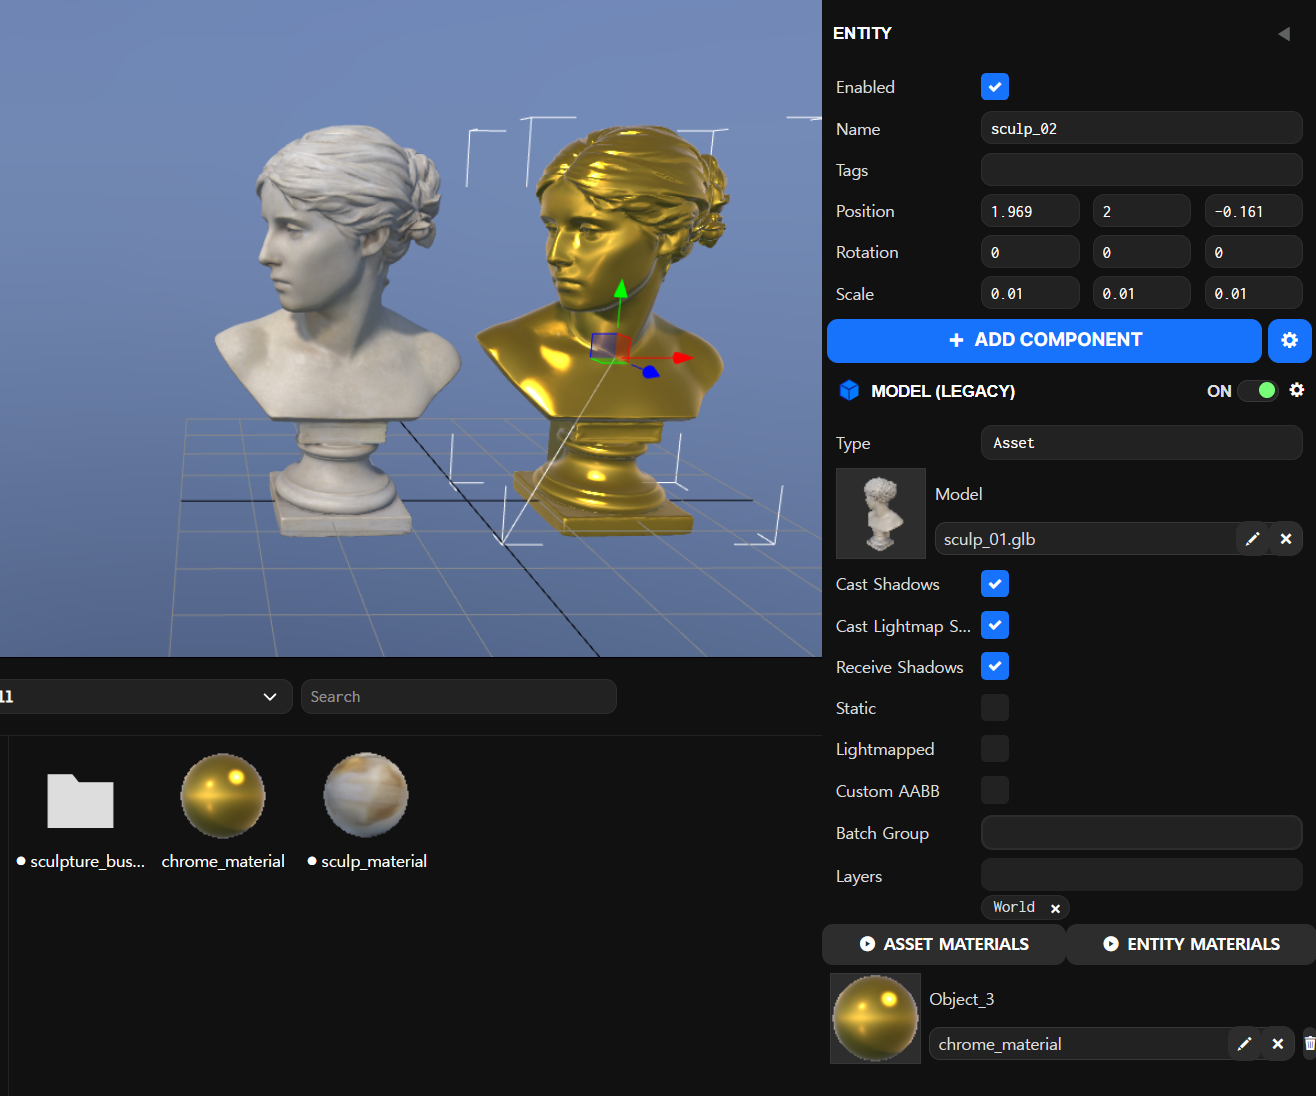
Clicking Entity Materials will first ask you to select which mesh instance to customize materials for:

After selecting a mesh instance, a new material selector appears on the model component:

You can then select different materials for this specific entity:
Editing a Material
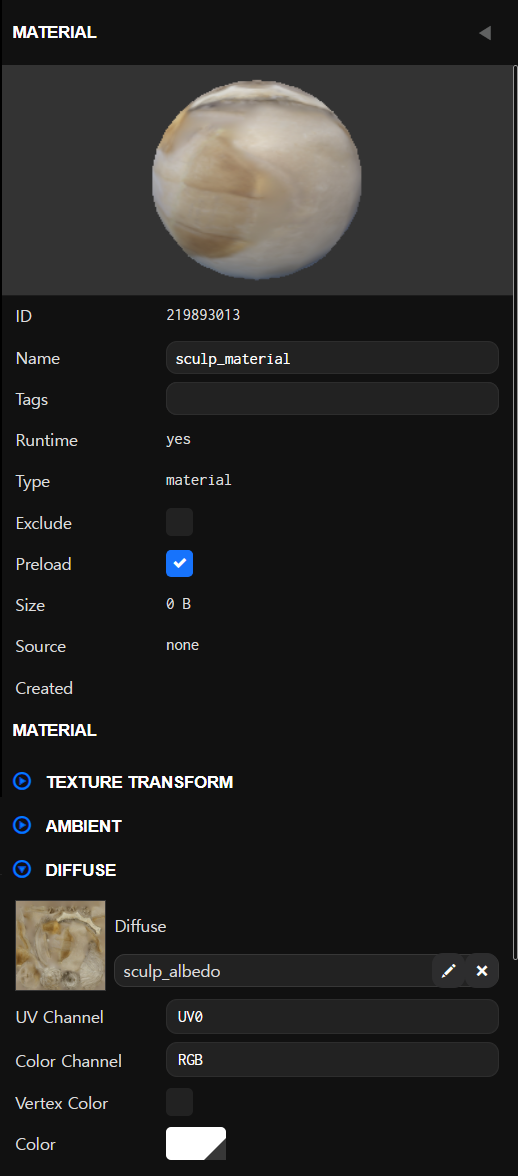
When a material is selected, you can edit its properties.
Material Maps
Most of material editing involves creating and assigning texture maps to the various slots described in detail on the pages above.
There are several options available for most texture map slots in materials.
Texture Asset
The first is a texture asset, which is created when you upload an image to OasisW. You can assign this to slots in the material.
Color or Tint Color
Some map slots can be a solid color instead of a texture map. Some slots also support tint colors when a texture is assigned. When enabled, the tint color is multiplied with the color of the texture map slot.
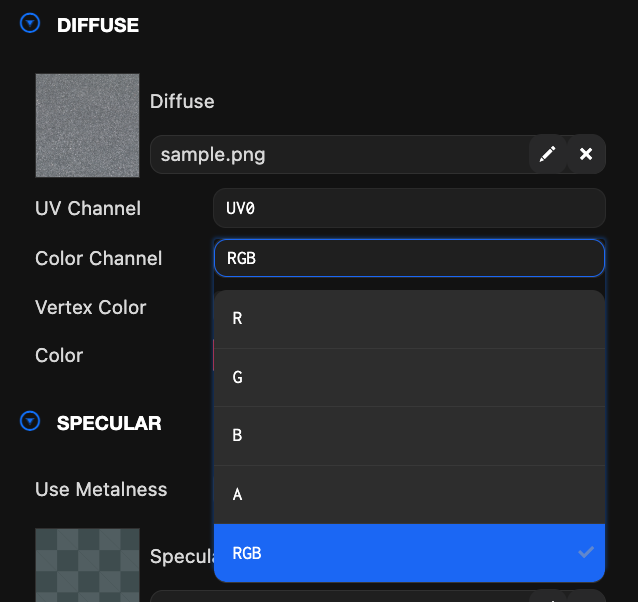
Channel
Some maps only need a single grayscale value like 0.0 -> 1.0. In this case, you can select which channel of the texture to use. RGB means all three channels are used. R, G or B means only the red, green or blue channel is used.
Texture Transformation
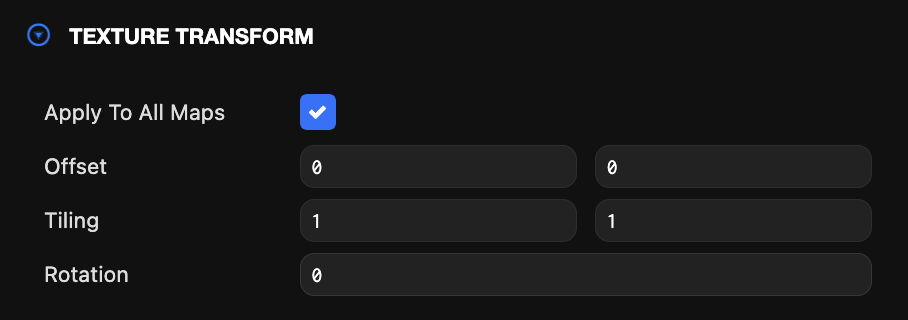
| Property | Description |
|---|---|
| Apply to all Maps | Uncheck this option to apply offset and tiling values to individual maps. |
| Offset | The U and V offset to apply to the first UV channel referenced by this material's maps. |
| Tiling | The U and V scale to apply to the first UV channel referenced by this material's maps. |
| Rotation | The U and V rotation to apply to the first UV channel referenced by this material's maps. |
Ambient
The ambient properties determine how the material appears under ambient lighting.
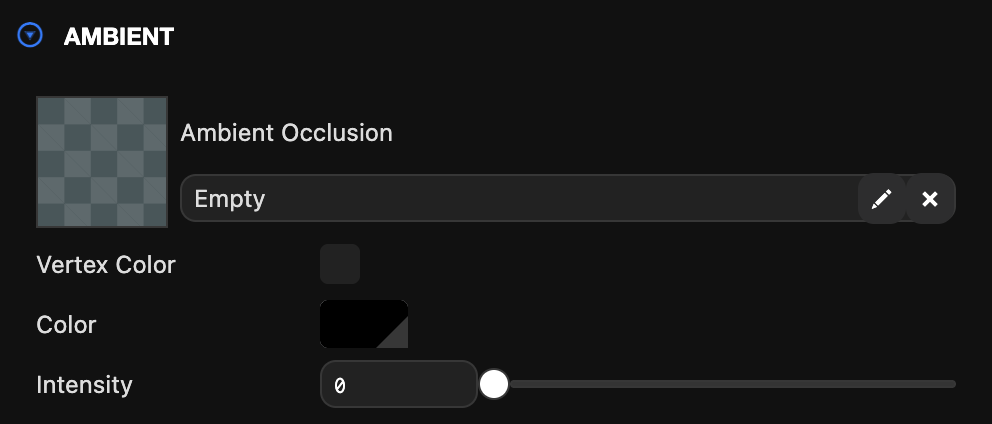
| Property | Description |
|---|---|
| AO Texture | An ambient occlusion map containing pre-baked ambient occlusion. |
| Vertex Color | Use mesh vertex colors for AO. When aoMap is set, it's multiplied with vertex colors. |
| Color | A tint color to multiply with the scene's global ambient color. |
| Intensity | The ambient occlusion intensity. Default value is 1. |
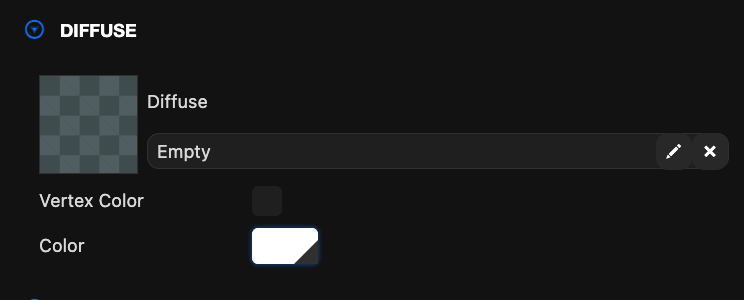
Diffuse
The diffuse properties define how the material reflects diffuse lighting emitted from dynamic lighting sources in the scene.
| Property | Description |
|---|---|
| Texture | A diffuse map that specifies the diffuse material color per pixel. When no diffuse map is set, the diffuse color is used instead. |
| Vertex Color | Multiply diffuse with mesh vertex colors. |
| Color | This is the material's diffuse color when no diffuse map is set. When a diffuse map is set and tint is enabled, this color modulates the material's diffuse map. |
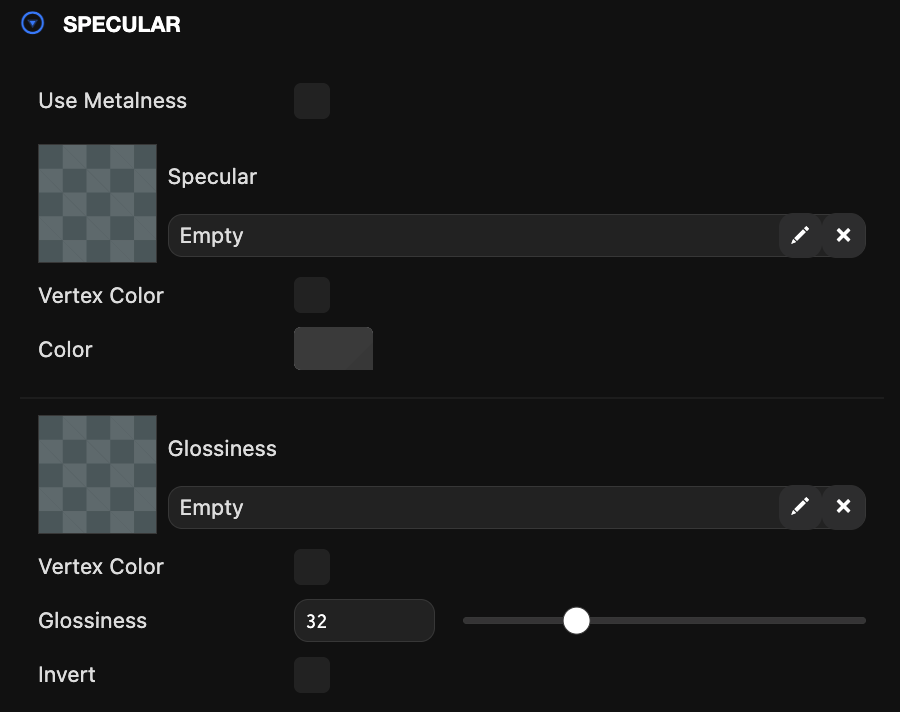
Specular
The specular properties define the color of specular highlights, i.e., shininess.
| Property | Description |
|---|---|
| Use Metalness | Switch between specular and metalness workflows. |
| Specular Map | A specular map that specifies the specular color per pixel. When no specular map is set, the specular color is used instead. |
| Vertex Color | Use mesh vertex colors for specular. When specularMap or specularTint is set, it's multiplied with vertex colors. |
| Color | This is the material's specular color when no specular map is set. When a specular map is set and tint is enabled, this color modulates the material's specular map. |
| Metalness Map | [Only when using metalness] This map specifies the metalness value per pixel. A value of 1 is metal and 0 is non-metal. |
| Vertex Color | Use mesh vertex colors for metalness. When metalnessMap is set, it's multiplied with vertex colors. |
| Metalness | Defines how metallic the surface is, from 0 (dielectric) to 1 (metal). |
| Metalness Specular Color | When metalness is enabled, use the specular map to apply color tint to specular reflections at direct angles. |
| Gloss Map | A gloss map that specifies the gloss value per pixel. The gloss map is modulated by the glossiness property. |
| Glossiness | A value that determines the smoothness of the surface. For smaller gloss values, the surface is rougher and specular highlights are wider. For larger gloss values, the surface is smoother and shows more focused specular highlights (like a polished, shiny surface). |
| Invert | Invert the gloss component (default is false). When this flag is enabled, the material treats the gloss member as roughness. |
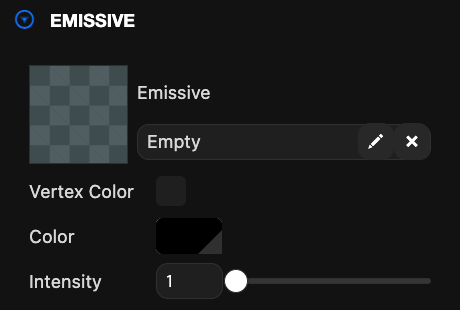
Emissive
The emissive properties control how the material emits light (as opposed to reflecting it).
| Property | Description |
|---|---|
| Texture | An emissive map that specifies the emissive color per pixel. When no emissive map is set, the emissive color is used instead. |
| Vertex Color | Use mesh vertex colors for emissive. When emissiveMap or emissive is set, it's multiplied with vertex colors. |
| Color | This is the material's emissive color when no emissive map is set. When an emissive map is set and tint is enabled, this color modulates the material's emissive map. |
| Intensity | A multiplier of the emissive color that can achieve overbrightness effects for exceptionally bright emissive materials. |
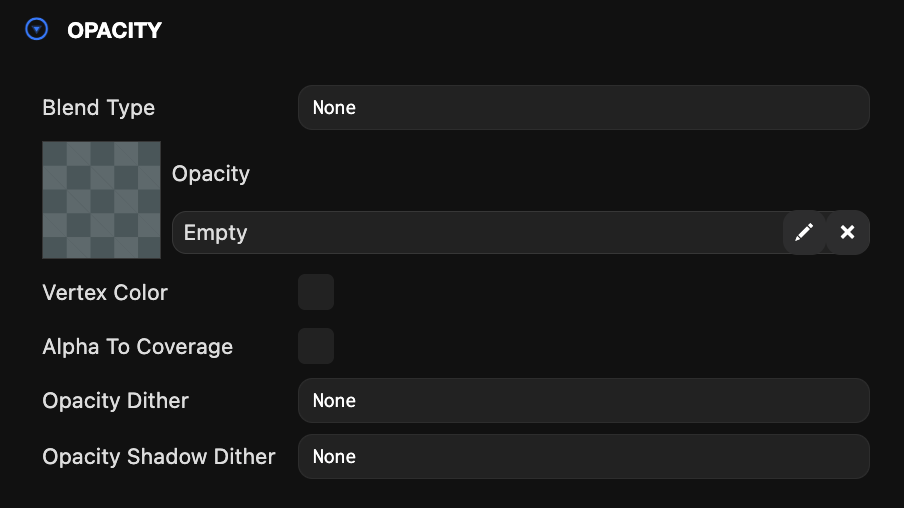
Opacity
Opacity sets the transparency level.
| Property | Description |
|---|---|
| Blend Type | Gets the blend mode of this material. |
| Texture | An opacity map that specifies the opacity per pixel. The opacity map is modulated by the 'Amount' property. |
| Vertex Color | Use mesh vertex colors for opacity. When opacityMap is set, it's multiplied with vertex colors. |
| Alpha To Coverage | Enable or disable alpha to coverage (WebGL2 only). |
| Opacity Dither | Used to specify whether opacity is dithered, allowing transparency without alpha blending. |
| Opacity Shadow Dither | Used to specify whether shadow opacity is dithered, allowing shadow transparency without alpha blending. |
Normal
Used to specify normal maps (these determine roughness - you should use normal maps, not height maps, in OasisW).
| Property | Description |
|---|---|
| Texture | A normal map that specifies the surface normal per pixel. The normal map is modulated by the 'Bumpiness' property. |
Parallax
Parallax maps give the illusion of depth on surfaces, adding more realism to normal maps. Parallax options are only enabled when a normal map is set on the material.
| Property | Description |
|---|---|
| Height Map | A height map that specifies the intensity per pixel of the parallax effect. White is full height and black is zero height. |
Clearcoat
Clearcoat simulates a thin transparent coating layer on top of the surface. It's used when creating realistic materials like car paint or plastic surfaces.
| Property | Description |
|---|---|
| Clear Coat Factor | Defines the intensity of the clearcoat layer from 0 to 1. |
Sheen
Sheen simulates the soft reflection effect seen in fibrous materials like fabric or velvet. It represents the scattered reflections caused by the fine roughness of the surface.

| Property | Description |
|---|---|
| Use Sheen | Enable the use of sheen specular effects. |
| Invert | Invert the material sheen gloss to effectively treat it as roughness. |
Refraction
Refraction simulates the phenomenon where light changes direction when passing through transparent materials. It represents the light refraction effects seen in transparent materials like glass, water, and crystals.

| Property | Description |
|---|---|
| Dynamic Refractions | Enable the use of grab pass for refraction. |
| Refraction Map | The refraction map defines the amount of refraction per pixel. |
| Vertex Color | Use vertex colors for refraction intensity or as a multiplier with the refraction map. |
| Refraction | The factor that determines the portion of light that passes through the material. |
| Index Of Refraction | Determines the degree of distortion of light passing through the material. Expressed as 1.0 / refractive index. |
| Dispersion | The intensity of angular separation of colors (chromatic aberration) passing through the volume. Default value is 0, meaning no dispersion. |
Iridescence
Iridescence simulates the phenomenon where colors change according to angle. It represents the iridescent reflection effects seen in materials like soap bubbles, oil slicks, butterfly wings, and pearls.

| Property | Description |
|---|---|
| Use Iridescence | Enable the iridescence diffraction effect. |
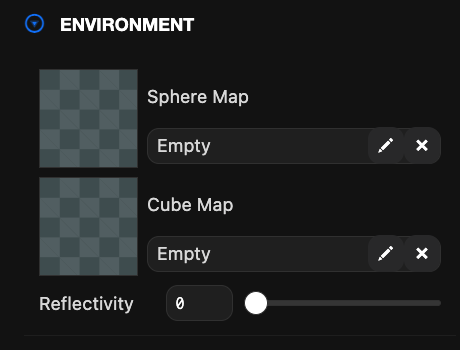
Environment
The environment properties determine how the material reflects the environment.
| Property | Description |
|---|---|
| Sphere Map | A sphere map texture asset that approximates environment reflection. When a sphere map is set, the cube map properties are hidden (as these properties are mutually exclusive). |
| Cube Map | A cubemap texture asset that approximates environment reflection (higher accuracy than sphere map). When a cube map is set, the sphere map properties are hidden (as these properties are mutually exclusive). |
| Reflectivity | The factor that determines how much of the light is reflected by the material. This value has a default of 1 (full reflectivity). |
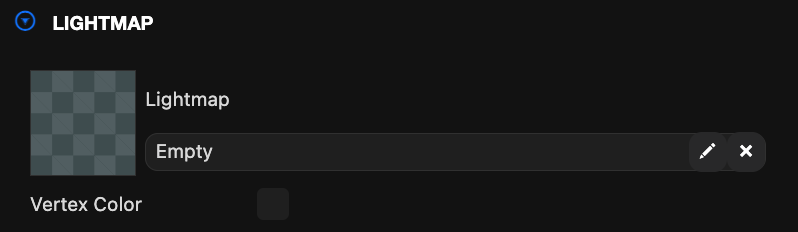
Lightmap
Lightmaps contain pre-baked diffuse lighting. Using lightmaps is considered an optimization as it allows pre-calculating runtime dynamic lighting calculations.
| Property | Description |
|---|---|
| Texture | A lightmap texture containing pre-baked diffuse lighting. Lightmaps must be applied to materials on meshes with two UV sets. The lightmap uses the second UV set. |
| Vertex Color | Use baked vertex lighting. When lightMap is set, it's multiplied with vertex colors. |
Other Render State
Other render state provides additional control over how meshes are rendered with the specified material.
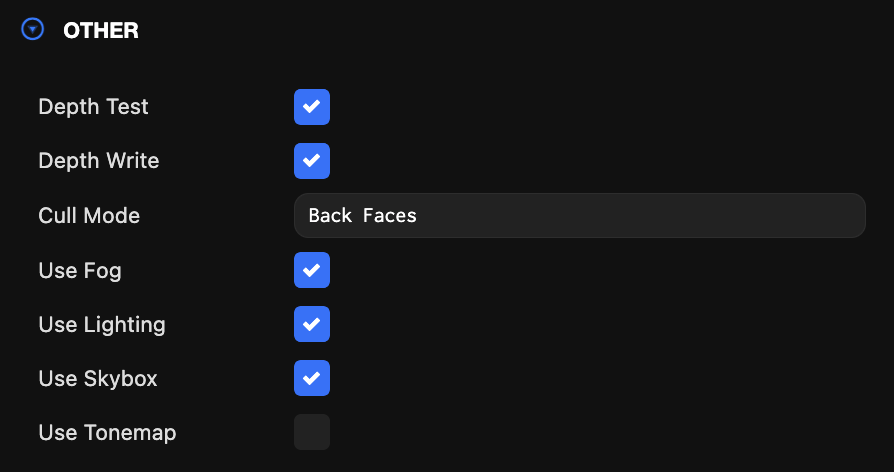
| Property | Description |
|---|---|
| Depth Test | When checked, a per-pixel check is performed to see if the pixel passes the engine's depth test when a mesh with this material is rendered. By default, the test is that the pixel must have a z depth less than or equal to what's already in the depth buffer. That is, the mesh is only visible when nothing is in front of it. When unchecked, the mesh is rendered regardless of what's already in the depth buffer. Default is on. |
| Depth Write | When checked, depth information is written to the depth buffer when a mesh with this material is rendered. This allows subsequent meshes to successfully depth test against meshes rendered with this material. Default is on. |
| Cull | Options are:
|
| Use Fog | Apply fog (as configured in scene settings). |
| Use Lighting | Apply lighting. |
| Use Skybox | Apply the scene skybox as a pre-filtered environment map. |
| Use Tonemap | Apply tonemapping (as configured in Scene#rendering or CameraComponent.rendering). Default is true. |