9-slicing
9-slicing (sometimes called 9-patch) is a 2D graphics technique that divides a single image into 9 regions and scales each one individually, preventing stretching when the image is displayed at different sizes and aspect ratios.
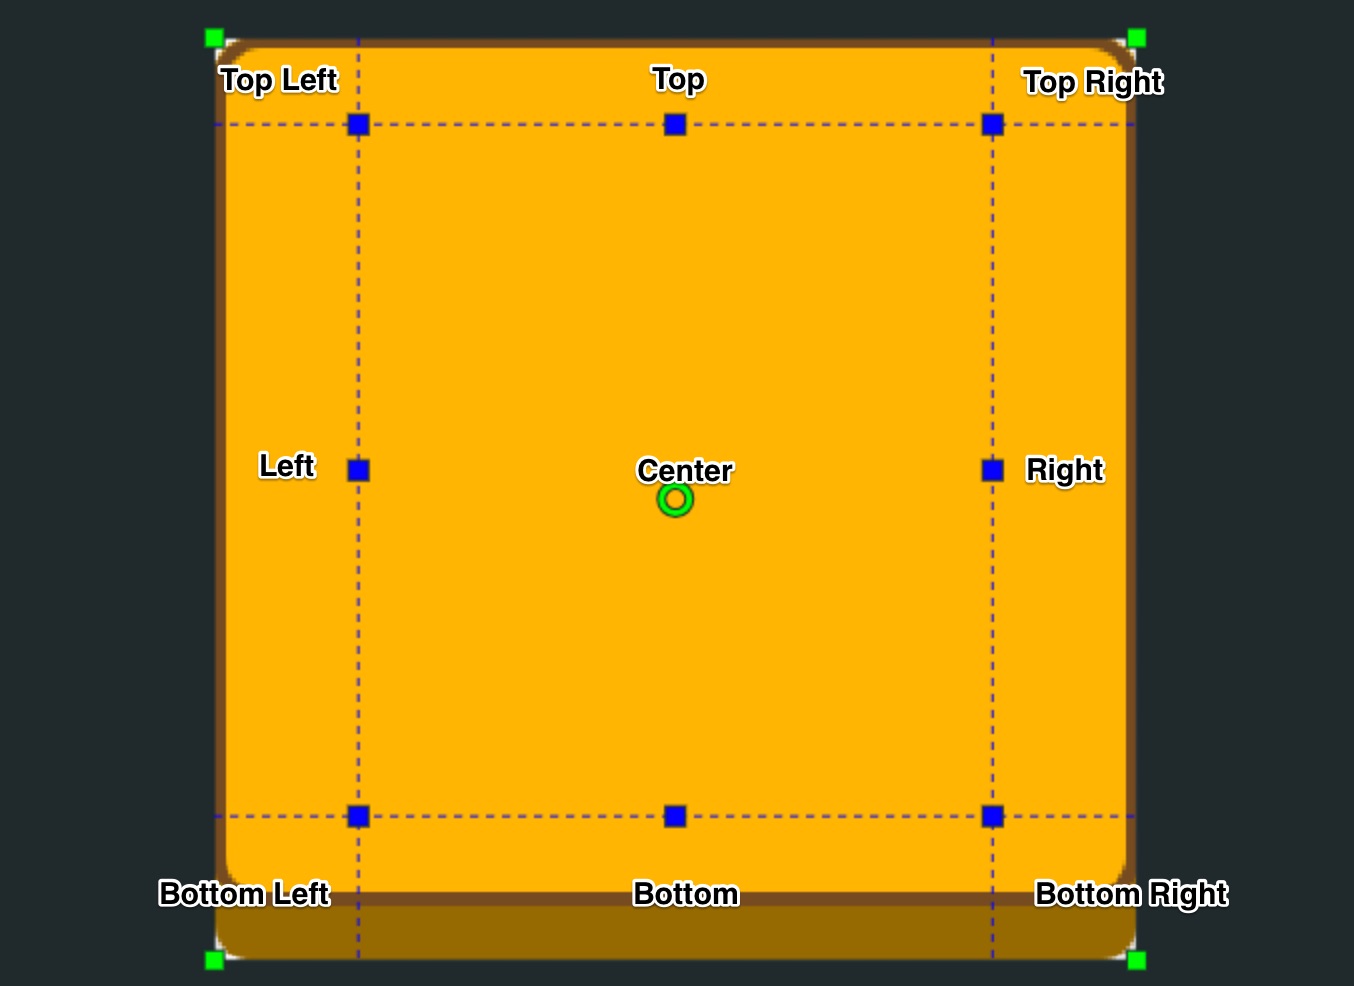
In the image above, you can see the 9 regions defined using the texture atlas editing feature of the sprite editor. When added to the scene using a sprite component or image element component, you can adjust the image size using the component's width and height properties. Each region is scaled using the following rules:
- Center - Stretch or tile both horizontally and vertically
- Top, Bottom - Stretch or tile horizontally only
- Left, Right - Stretch or tile vertically only
- Top-left, Top-right, Bottom-left, Bottom-right - No stretching or tiling
Setting up 9-slicing

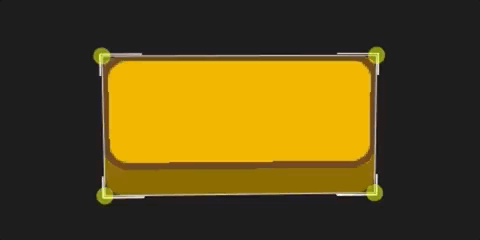
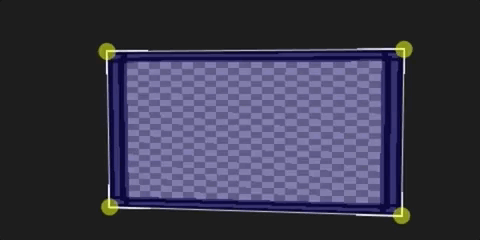
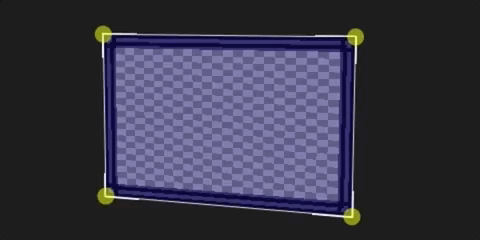
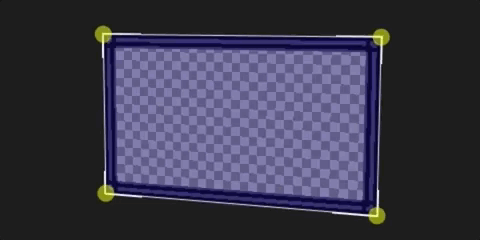
To set up a 9-sliced sprite, create a frame around the area you want to use for 9-slicing in the sprite editor. Then use the blue handles or border properties in the frame inspector to set the borders to outline the center part of the image that you want to be the stretchable part of the sprite.
Finally, click New Sliced Sprite from Selection to create a new sprite with the render mode set to sliced.
Render Modes
Sprite assets can have one of three render modes.
Simple Sprite
The simple render mode has no 9-slicing. Use this mode for regular sprites.
Sliced Sprite
The sliced render mode stretches parts of the image. The center stretches both horizontally and vertically, the left and right sections stretch vertically, the top and bottom sections stretch horizontally, and the corners don't stretch at all.
Tiled Sprite
The tiled render mode is similar to the sliced mode, except that instead of stretching sections, it repeats them in a tiled pattern. The center tiles both horizontally and vertically, the left and right tile vertically, the top and bottom tile horizontally, and the corners don't tile at all.