Applying Materials
Learn how to apply materials in OasisW to define the visual properties of objects.
Basic Materials
Step 1: Create Box Object
- In the Hierarchy view, select Add Entity → 3D → Box.
- Place it above the Plane object by directly entering the Y value in Position or using the move tool.
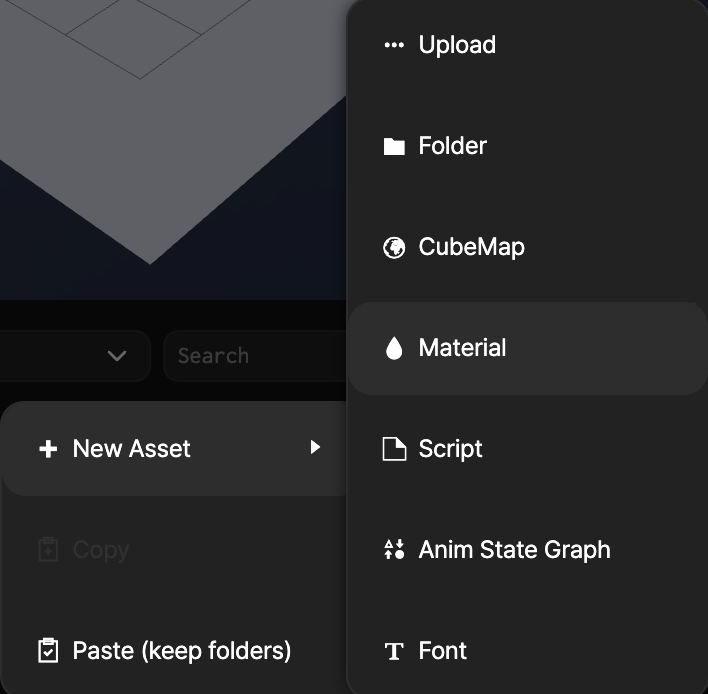
Step 2: Create Material
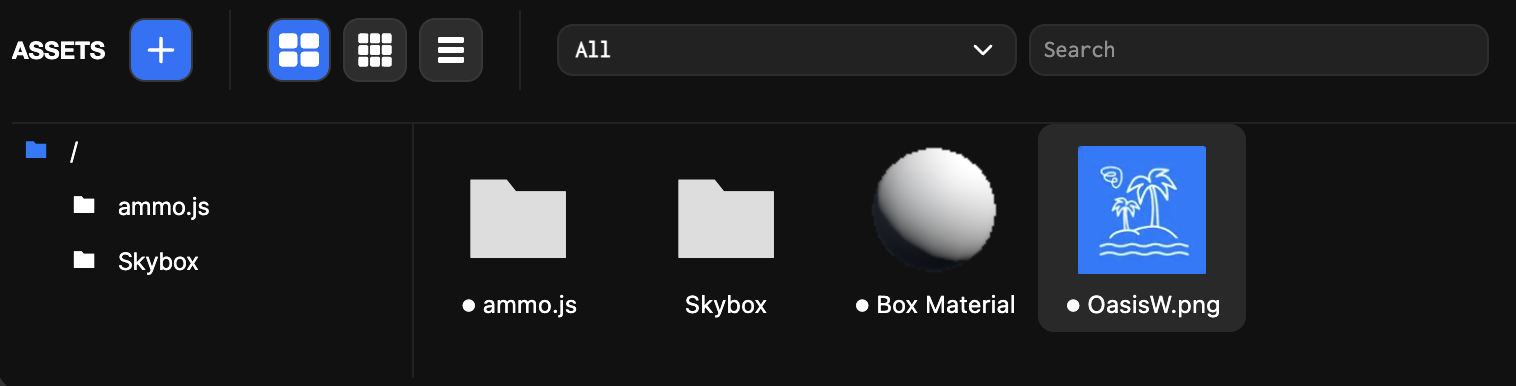
- Right-click in the Asset view.
- Click New Asset → Material.
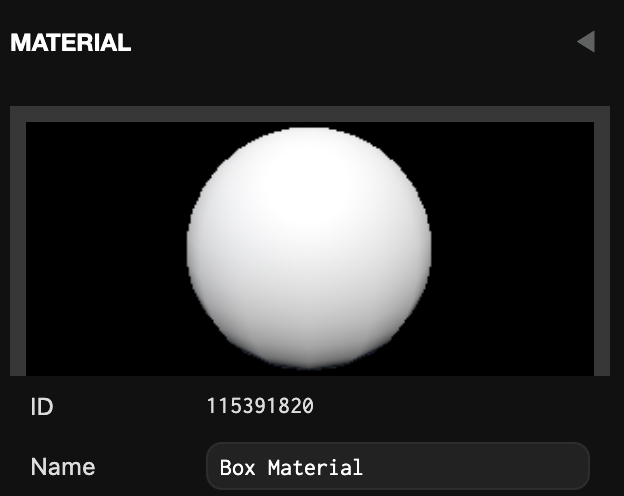
Step 3: Change Material Name
Change the name of the created material to your desired name.
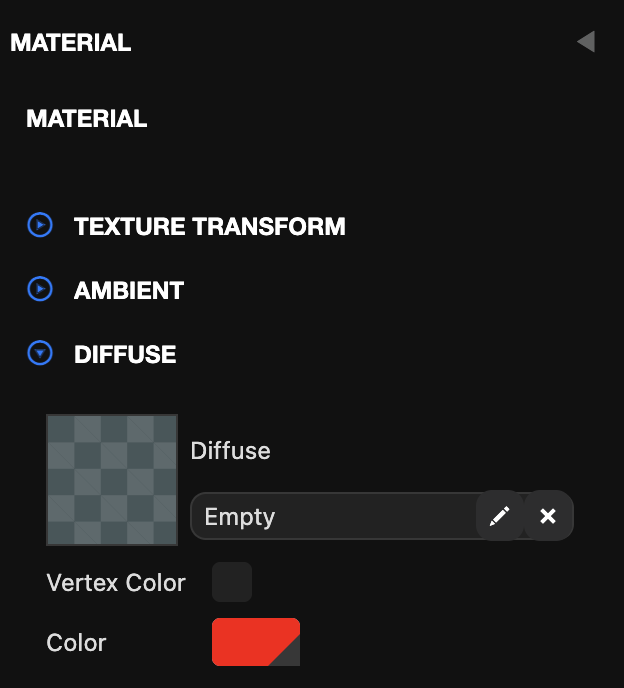
Step 4: Change Color
- Click the created material in the Asset view.
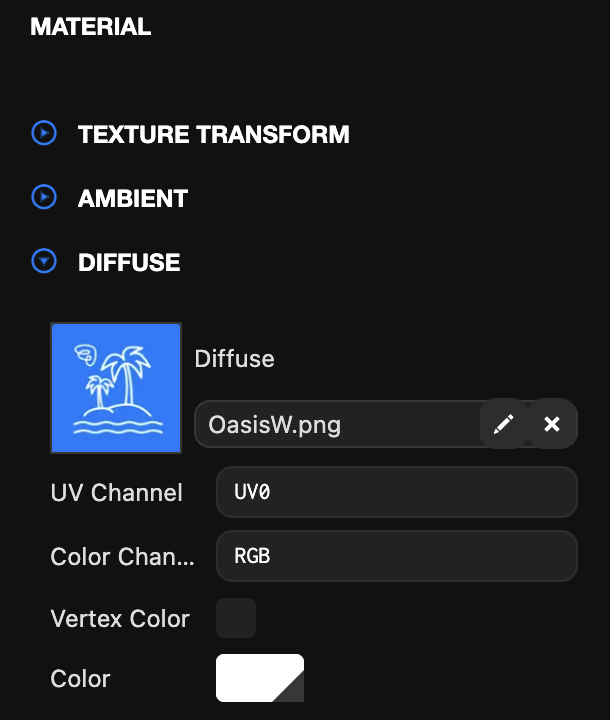
- In the Inspector view, click Material → Diffuse.
- Change the Color.
Step 5: Add Image
- Drag and drop the desired image into the Asset view.
- Click the material to apply → Drag and drop the image into Diffuse.
Step 6: Apply Material to Box Object
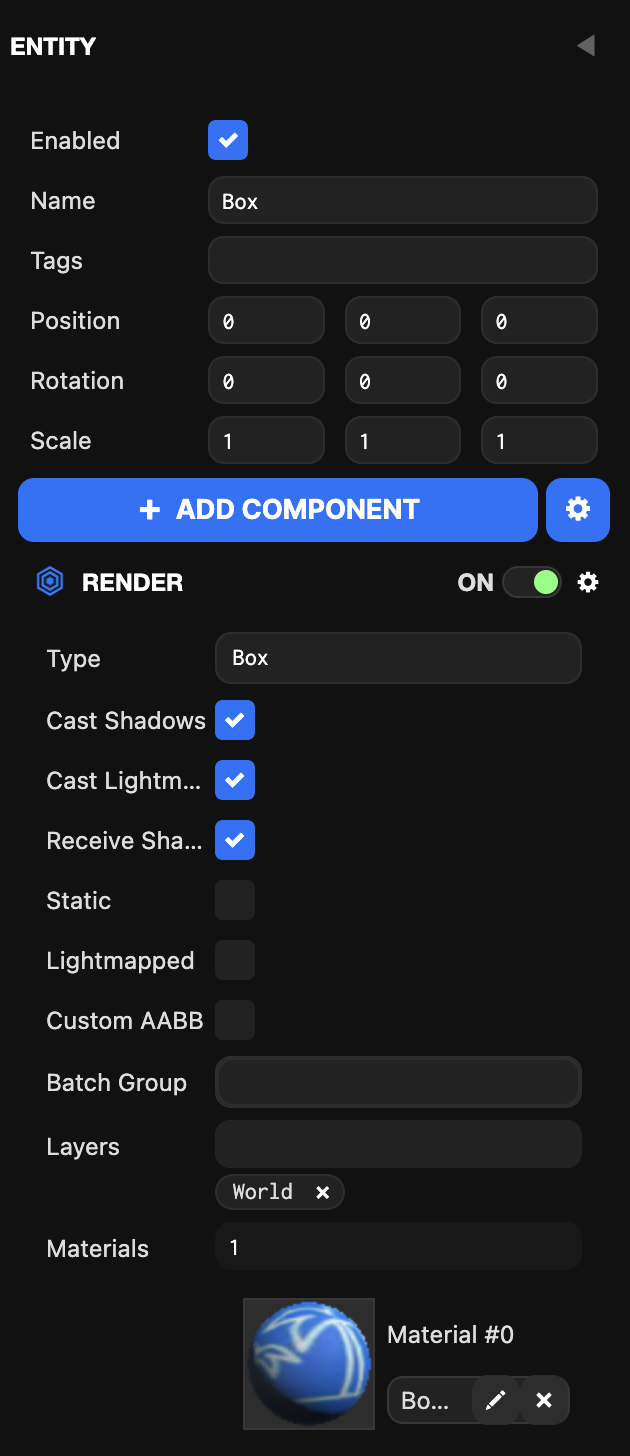
- Select the Box object in the Hierarchy view.
- Drag and drop the material from Asset view to Materials in the Inspector view.
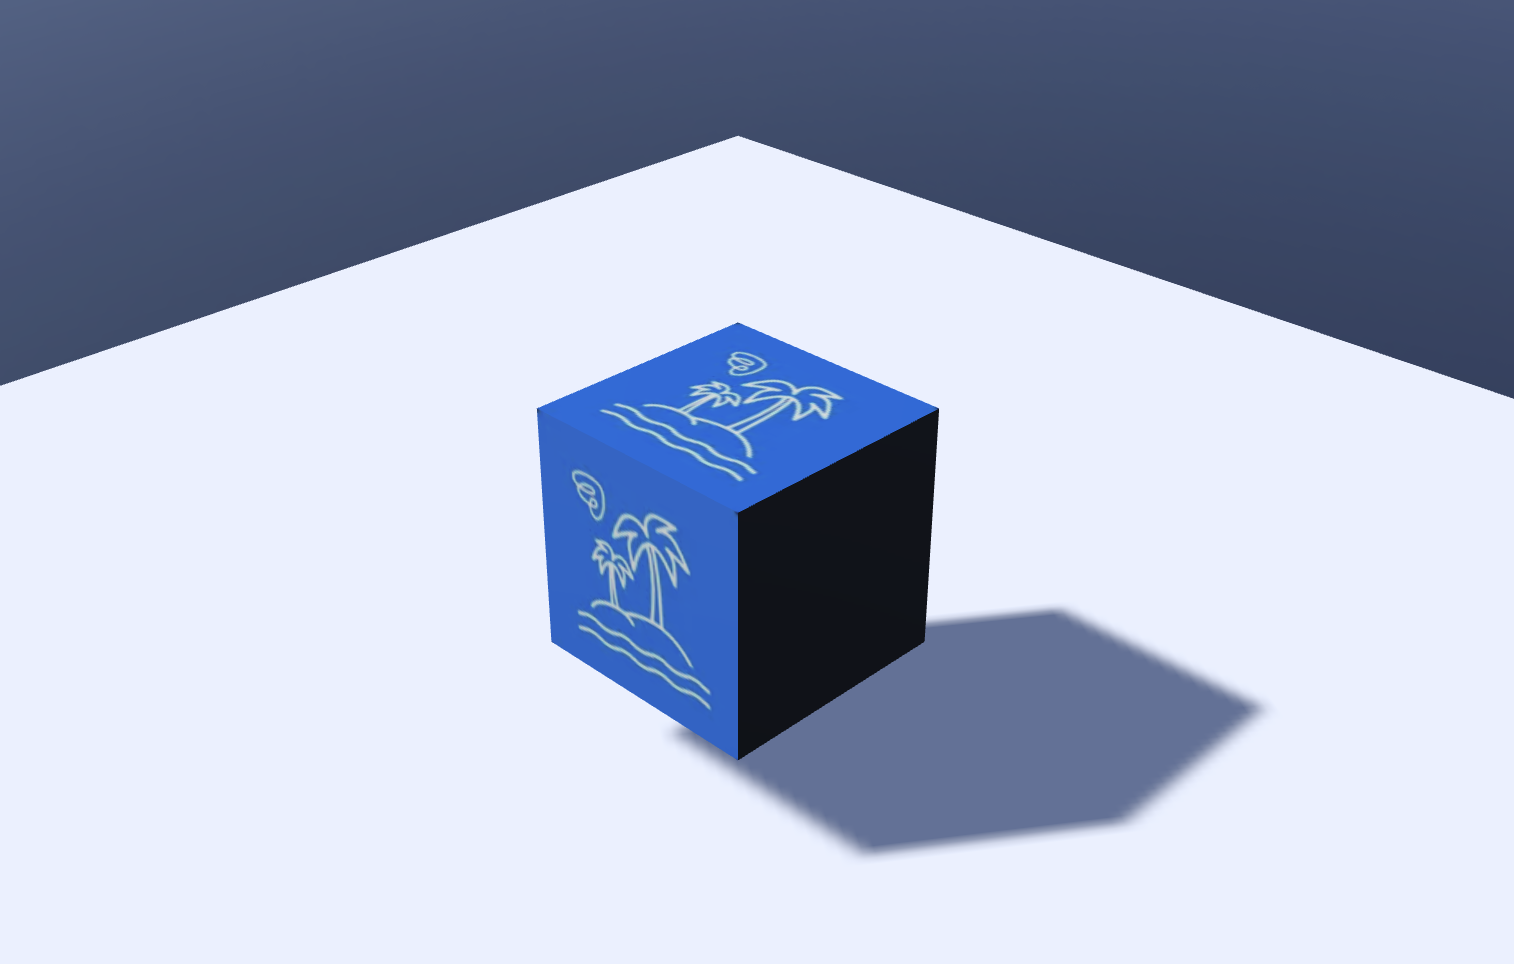
Step 7: Check Results
Click Launch in the Viewport to check the added image.