스크립트 추가하기
OasisW에서 스크립트를 사용하여 객체의 동작을 프로그래밍하는 방법을 학습합니다.
스크립트 생성하기
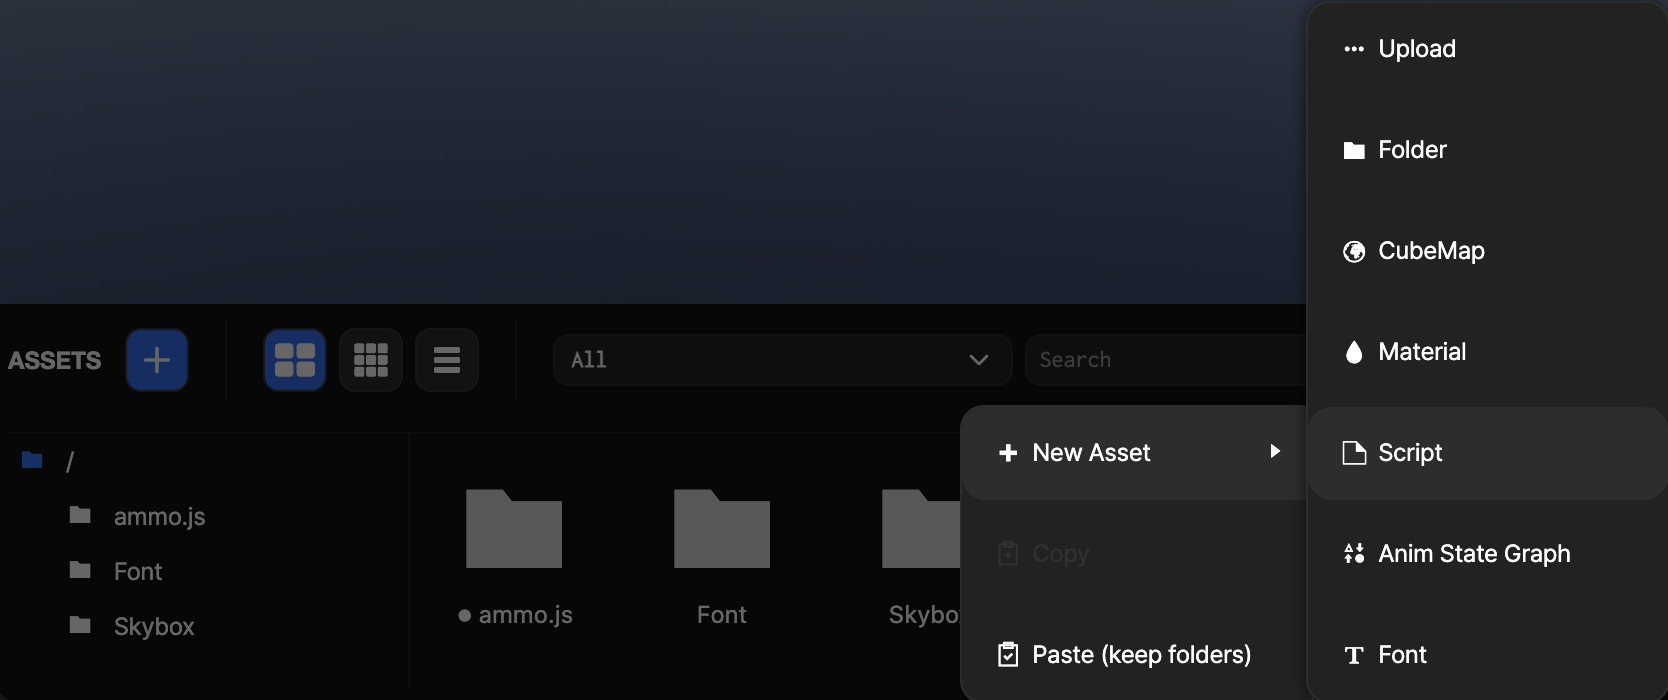
1단계: 스크립트 에셋 생성
- 에셋 뷰에서 마우스 오른쪽 클릭합니다.
- New Asset → Script를 클릭합니다.
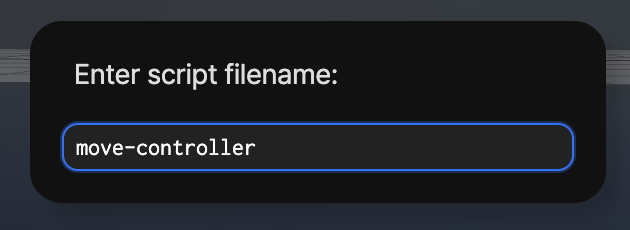
2단계: 스크립트 이름 입력
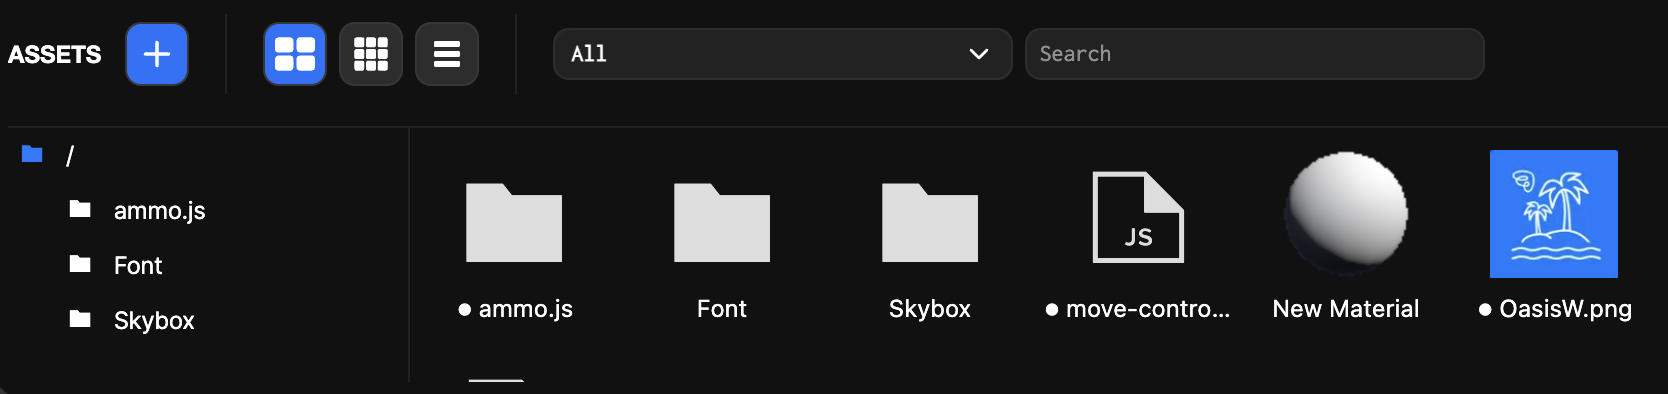
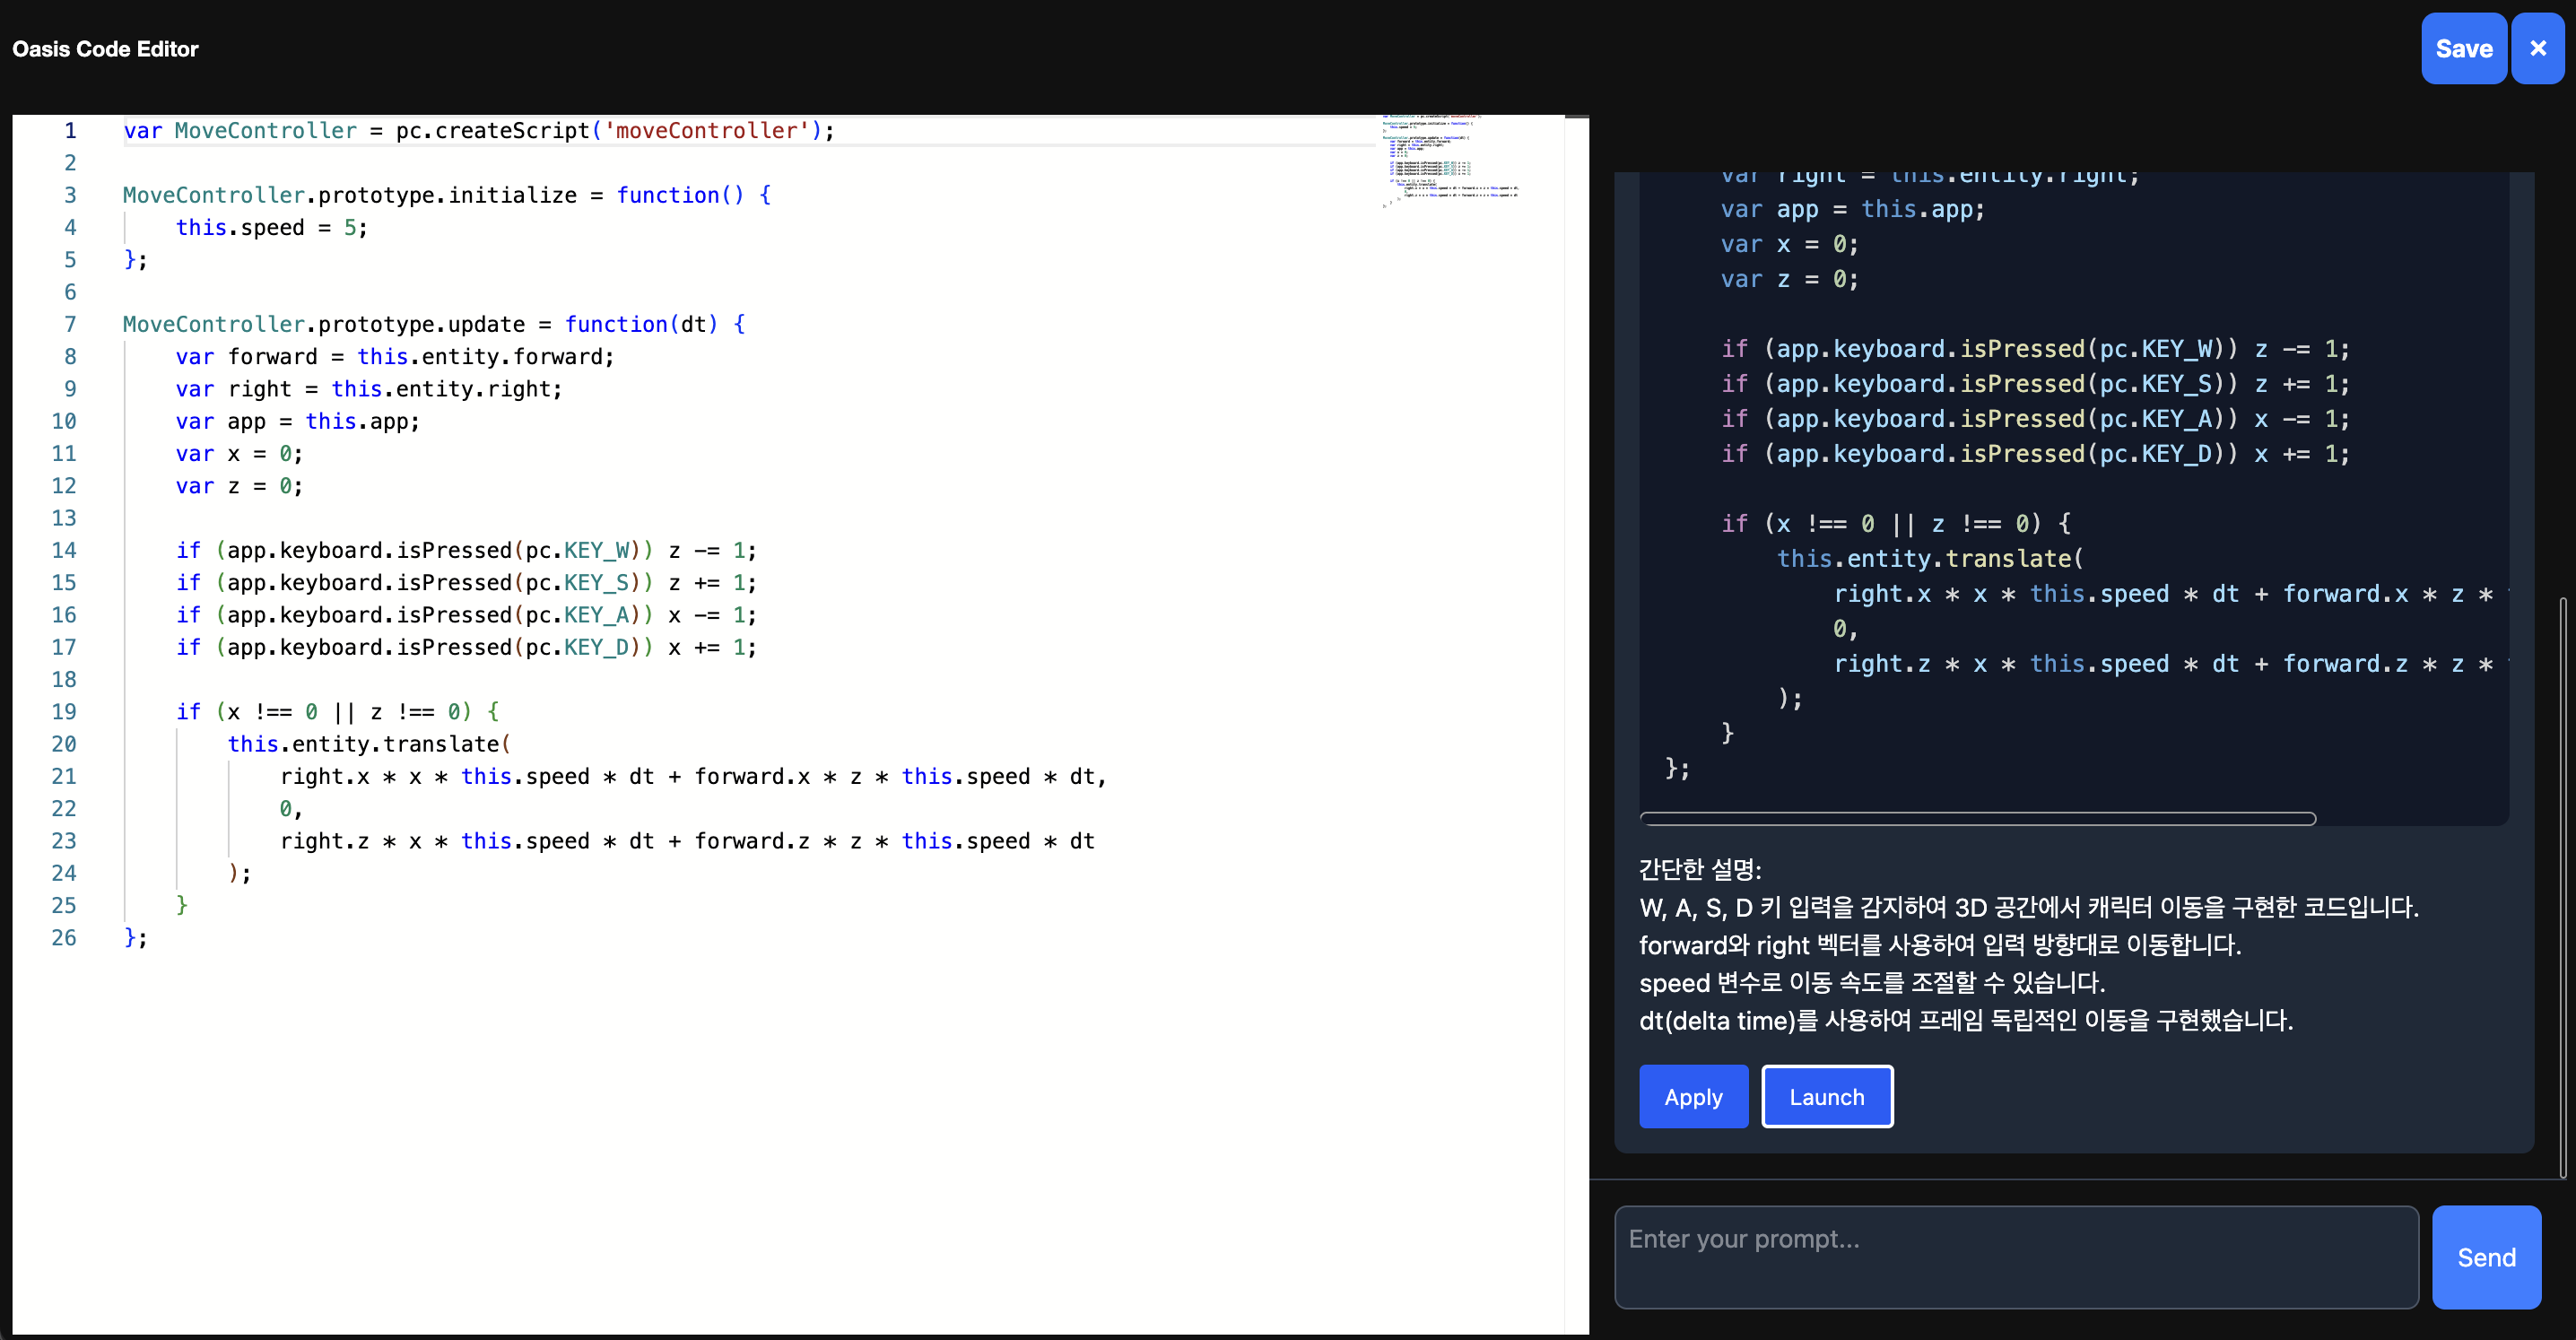
3단계: 스크립트 편집
에셋 뷰에 생성된 스크립트를 더블 클릭하여 편집기를 엽니다.
4단계: 움직임 로직 구현
프롬프트를 활용하여 움직임 로직을 구현한 후 Apply를 눌러 적용하고 Save 후 닫습니다.
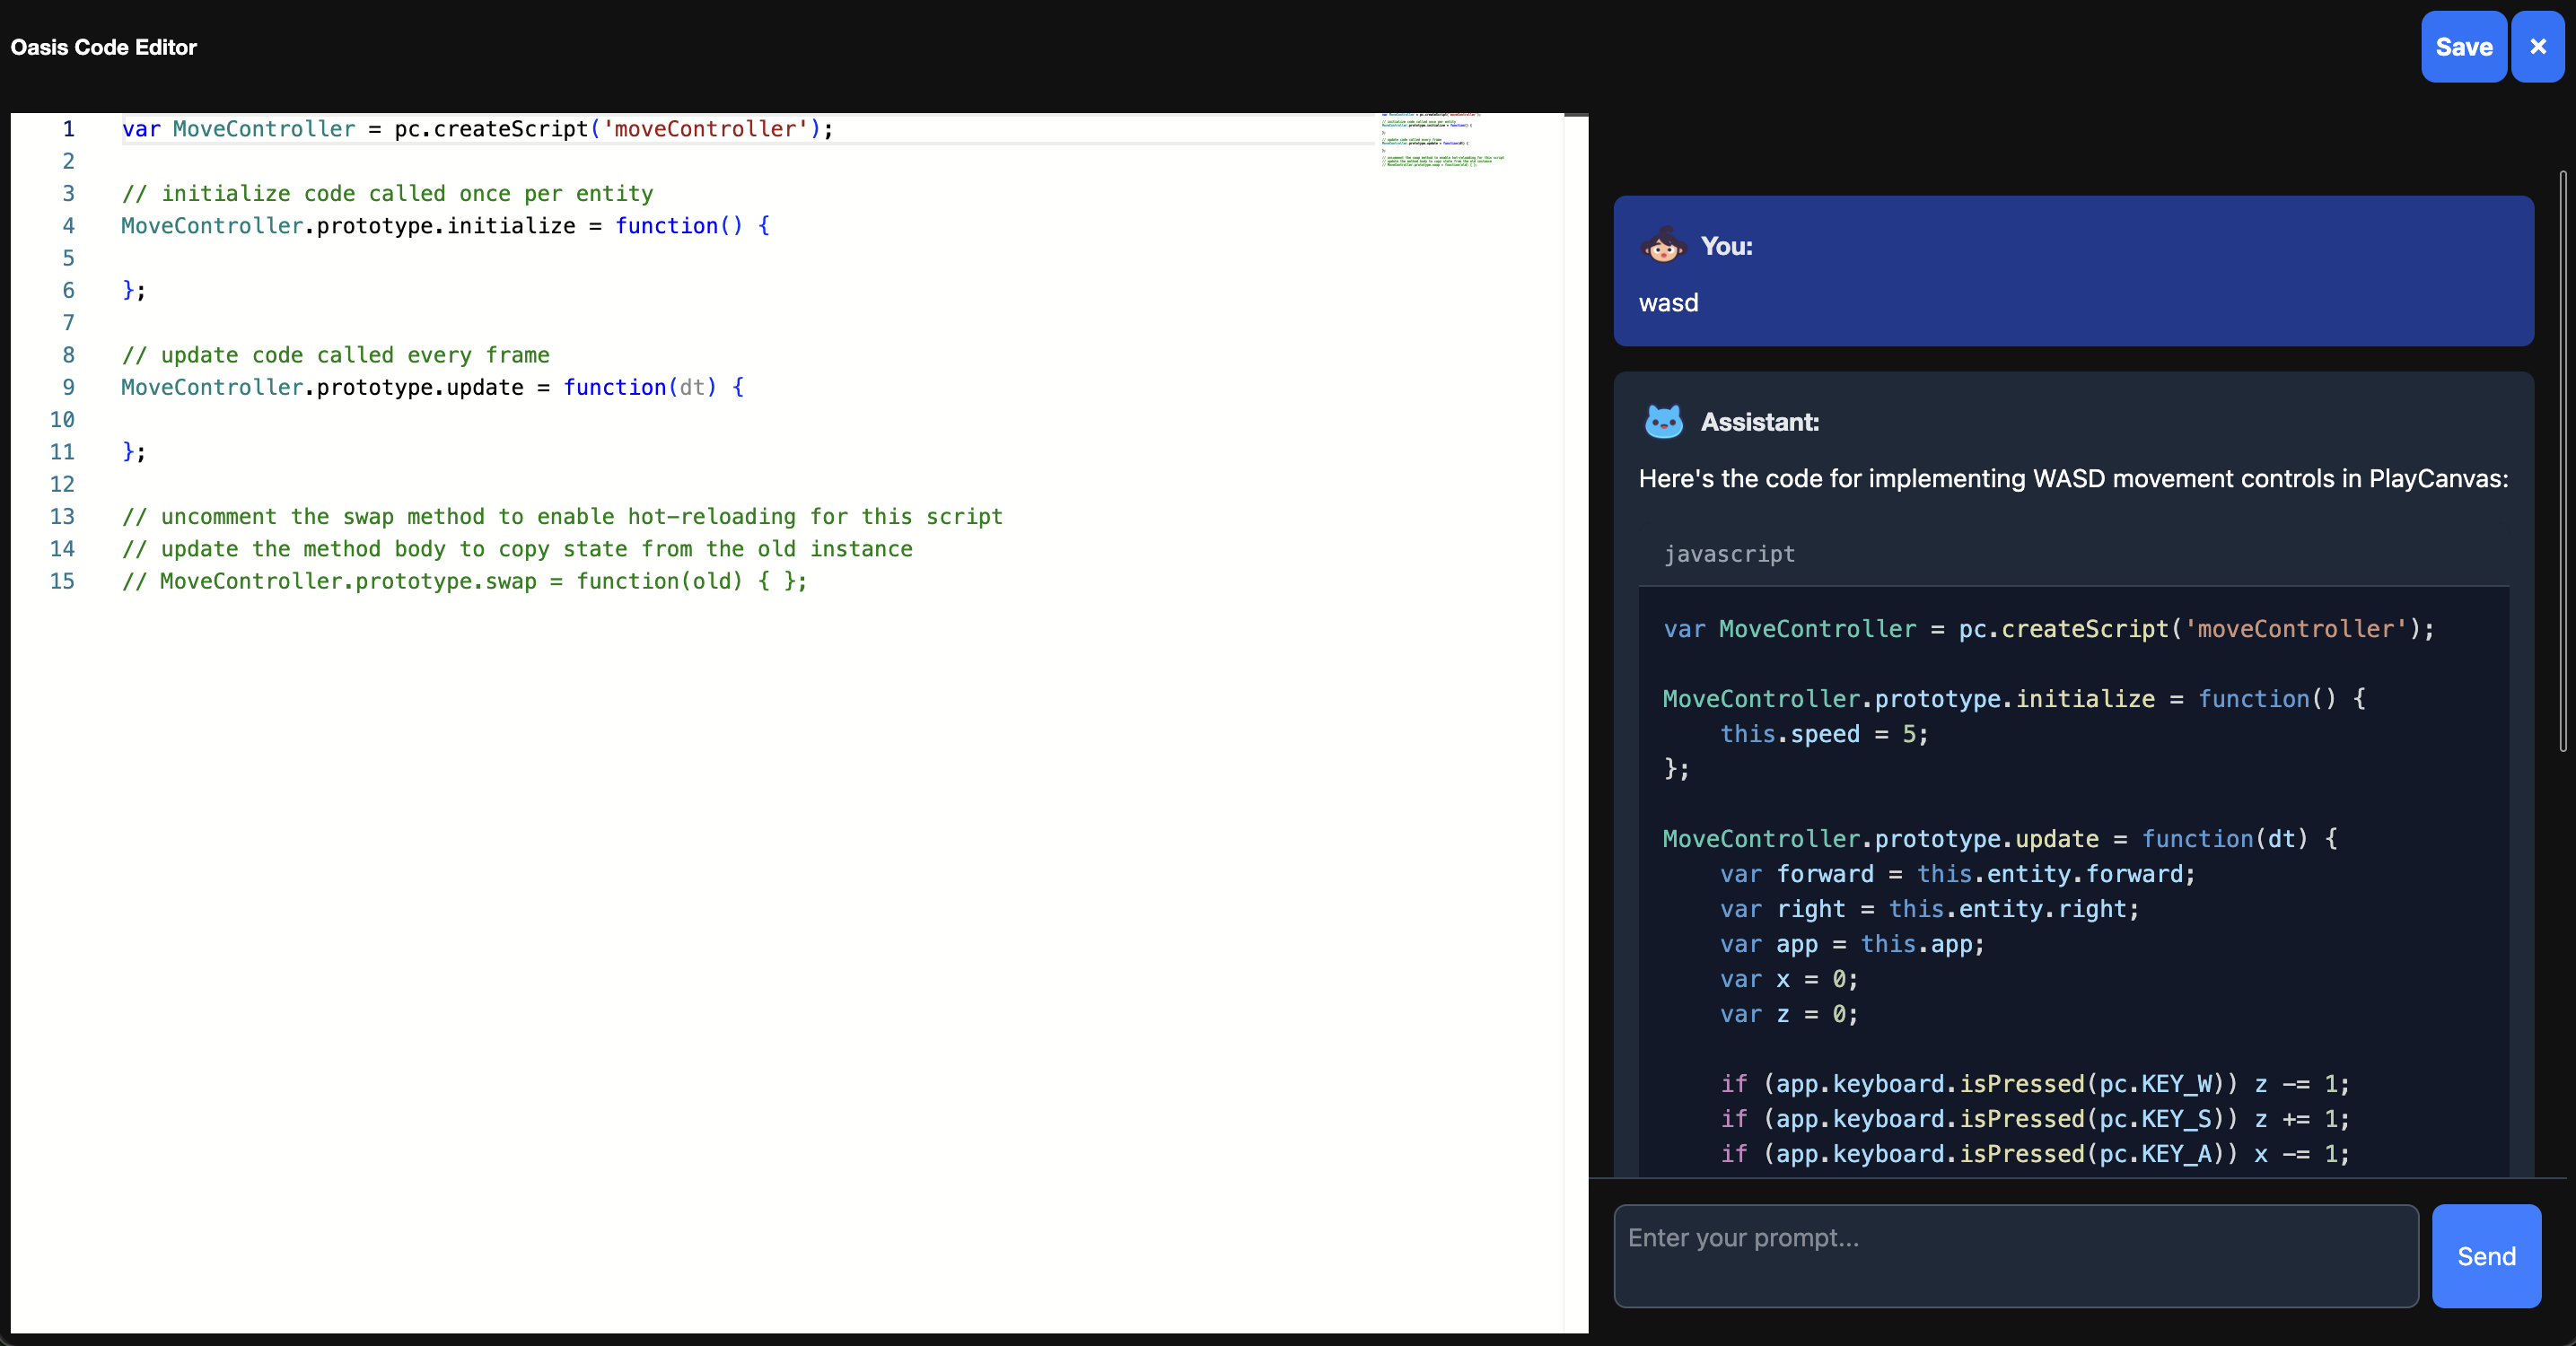
- x, y축 기준 플레이어 엔티티 방향키로 동작
- 예:
"Player 엔티티가 wasd 방향키로 x, y축 기준 상하좌우 움직일 수 있도록 코드 추가"
var PlayerController = pc.createScript('playerController');

PlayerController.prototype.initialize = function() {
    this.force = 5;
};

PlayerController.prototype.update = function(dt) {
    var inputForce = new pc.Vec3();

    if (this.app.keyboard.isPressed(pc.KEY_A)) {
        inputForce.x = -this.force;
    }
    if (this.app.keyboard.isPressed(pc.KEY_D)) {
        inputForce.x = this.force;
    }
    if (this.app.keyboard.isPressed(pc.KEY_W)) {
        inputForce.y = this.force;
    }
    if (this.app.keyboard.isPressed(pc.KEY_S)) {
        inputForce.y = -this.force;
    }

    this.entity.translate(inputForce.x * dt, inputForce.y * dt, 0);
};
- y축 방향으로 미사일 발사
var GameManager = pc.createScript('gameManager');

GameManager.prototype.initialize = function() {
    this.missile = null;
    this.missileSpeed = 10;
    this.fireInterval = 1;
    this.fireTimer = 0;
    this.activeMissiles = [];
};

GameManager.prototype.update = function(dt) {
    this.fireTimer += dt;
    if (this.fireTimer >= this.fireInterval) {
        this.fireMissile();
        this.fireTimer = 0;
    }

    for (var i = 0; i < this.activeMissiles.length; i++) {
        var missile = this.activeMissiles[i];
        var pos = missile.getPosition();
        missile.setPosition(pos.x, pos.y + this.missileSpeed * dt, pos.z);
    }
};

GameManager.prototype.fireMissile = function() {
    this.missile = this.app.root.findByName('Missile');
    if (this.missile) {
        var player = this.app.root.findByName('Player');
        if (player) {
            var missileClone = this.missile.clone();
            missileClone.setPosition(player.getPosition());
            missileClone.setEulerAngles(0, 0, 0);
            this.app.root.addChild(missileClone);
            missileClone.collision.enabled = true;
            this.activeMissiles.push(missileClone);
        }
    }
};

GameManager.prototype.swap = function(old) { };
- 적 엔티티 드롭
var EnemyController = pc.createScript('enemyController');

EnemyController.prototype.initialize = function () {
    this.enemyTemplate = this.app.root.findByName('Enemy');
    this.timer = 0;
    this.spawnInterval = 2.0;
    this.enemySpeed = 3.0;
    this.enemyCount = 5;
    this.spawnY = 10.0;
    this.enemies = [];
};

EnemyController.prototype.update = function (dt) {
    this.timer += dt;

    if (this.timer >= this.spawnInterval) {
        this.timer = 0;
        this.spawnEnemies();
    }

    this.moveEnemies(dt);
};

EnemyController.prototype.spawnEnemies = function () {
    for (let i = 0; i < this.enemyCount; i++) {
        const xPos = -4 + (i * 2);
        const enemy = this.enemyTemplate.clone();
        enemy.setPosition(xPos, this.spawnY, 0);
        enemy.enabled = true;
        this.entity.addChild(enemy);
        this.enemies.push(enemy);
    }
};

EnemyController.prototype.moveEnemies = function (dt) {
    for (let i = 0; i < this.enemies.length; i++) {
        const enemy = this.enemies[i];
        const pos = enemy.getPosition();
        enemy.setPosition(pos.x, pos.y - this.enemySpeed * dt, pos.z);
    }
};
스크립트 적용하기
1단계: 스크립트 컴포넌트 추가
- 하이어라키 뷰에서 Box 오브젝트를 선택합니다.
- 인스팩터 뷰에서 Add Component → Script를 클릭합니다.

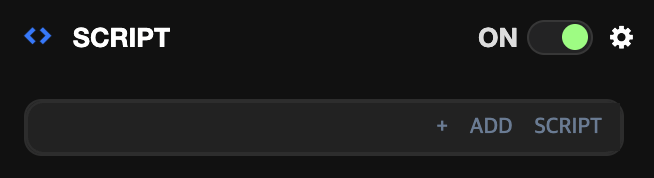
2단계: 스크립트 추가
인스팩터 뷰 하단에 스크립트 컴포넌트가 생성되면 Add Script를 클릭합니다.
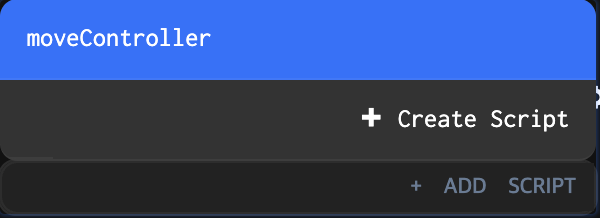
3단계: 스크립트 선택
생성해놓은 스크립트를 클릭하여 적용합니다.
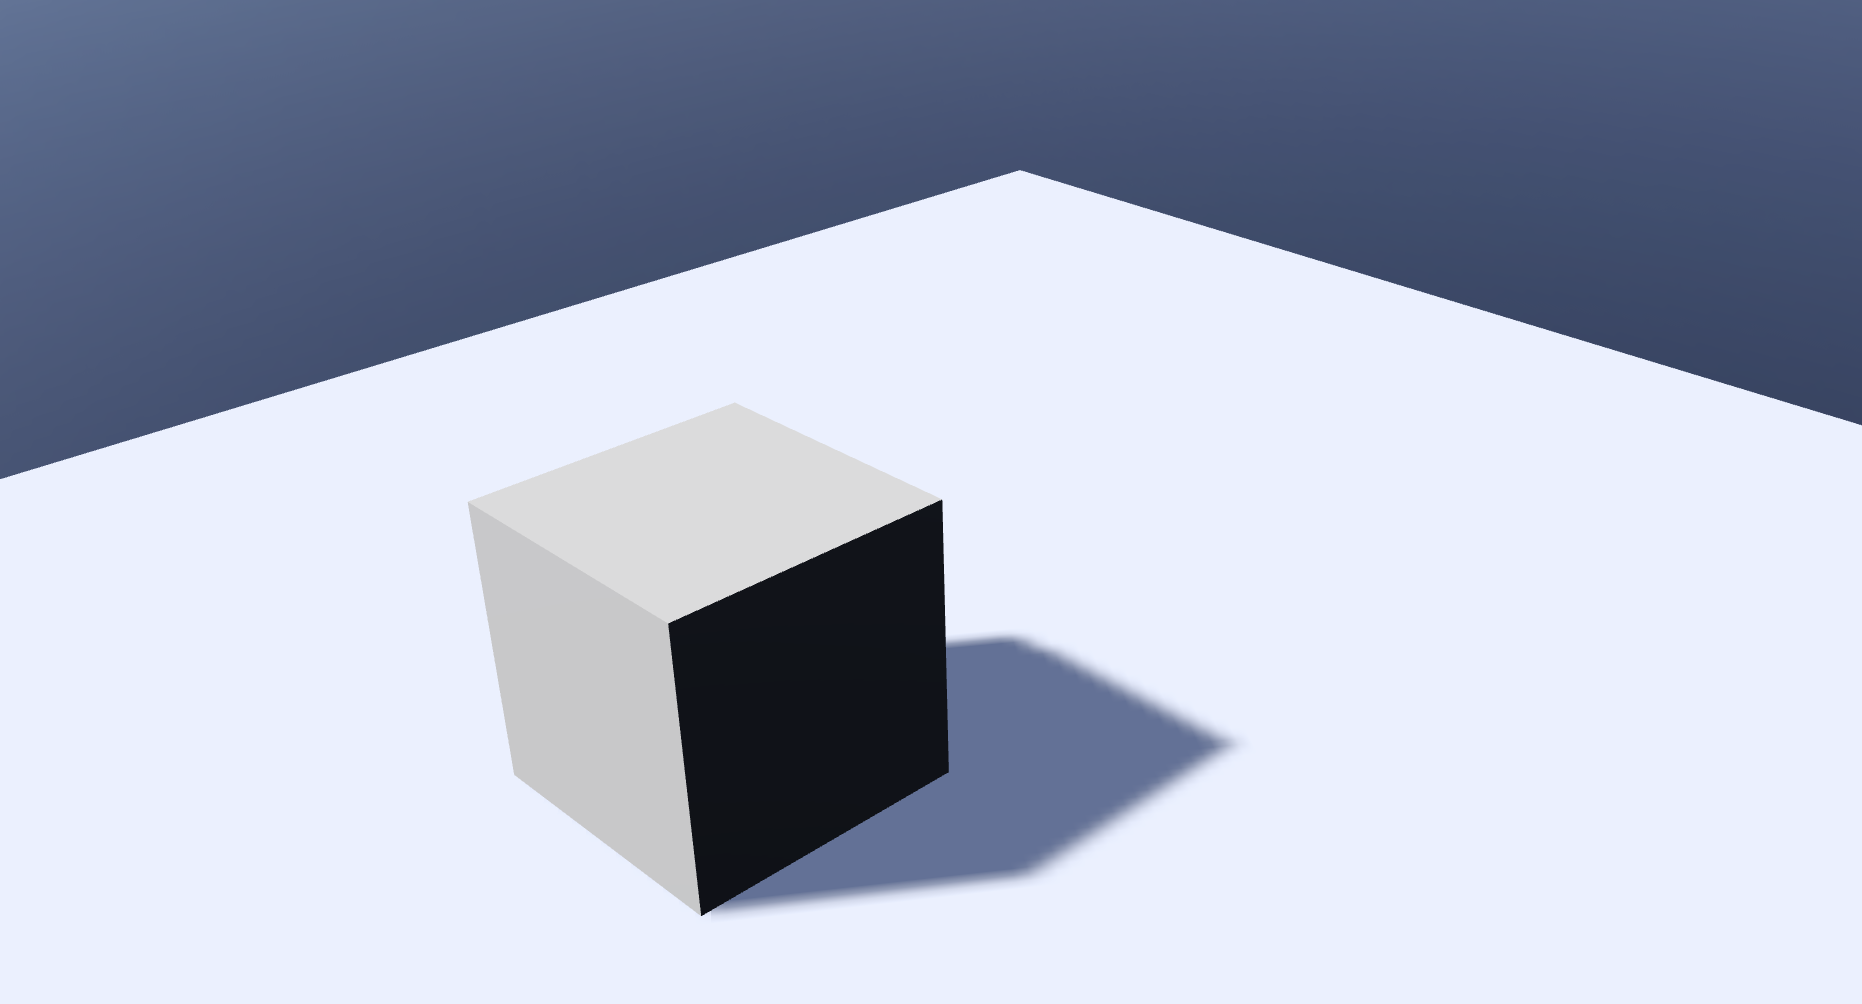
4단계: 결과 확인
뷰포트의 Launch를 클릭하여 박스 오브젝트의 움직임을 확인합니다.
스크립트 정리하기
프로젝트가 커질수록 스크립트의 수도 늘어납니다. 체계적인 정리가 중요합니다:
- 폴더: 에셋 패널 내에서 폴더를 사용하여 스크립트를 분류하고 그룹화합니다. 필요에 따라 폴더 간에 스크립트를 드래그 앤 드롭할 수 있습니다.
- 명명 규칙: 스크립트 파일에 일관되고 설명적인 이름을 사용하세요. 이렇게 하면 찾고 이해하기가 더 쉬워집니다.
스크립트 삭제하기
스크립트 에셋을 삭제하려면:
- 에셋 패널에서 스크립트 에셋을 선택합니다.
- Delete 키를 누르거나 마우스 오른쪽 버튼을 클릭하고 Delete를 선택합니다.
- 확인 대화상자가 나타납니다. 확인하려면 DELETE를 클릭합니다.
노트
스크립트 에셋이 현재 씬의 엔티티에 있는 스크립트 컴포넌트에 할당되어 있는 경우, 에셋을 삭제하면 해당 컴포넌트에서 제거됩니다. 더 이상 필요하지 않은 경우 해당 컴포넌트를 삭제할 수 있습니다.